Teriyaki Chicken Recipe
Why would you run out to grab take-out teriyaki chicken when it’s so easy to make at home? These succulent chicken thighs are simmered and basted in rich teriyaki sauce — made with only four ingredients — and ready for serving in under 30 minutes.
The teriyaki chicken we know today was first whisked together by Japanese immigrants in the state of Hawaii. The flavors are heavily influenced by Japanese cuisine and immensely popular throughout America.
It’s easy to understand why! Salt and sugar — two of the flavors our taste buds love most — from the mirin, sake, and soy sauce meld into a beautifully savory, viscous teriyaki.

My teriyaki chicken recipe conveniently requires just a handful of ingredients and 20 minutes to cook — no marinading required! I use juicy, moist dark meat that fries to perfection without drying out, and that sticky sauce clings to the crispy skin just fine without prolonged marinating.
Table of Contents
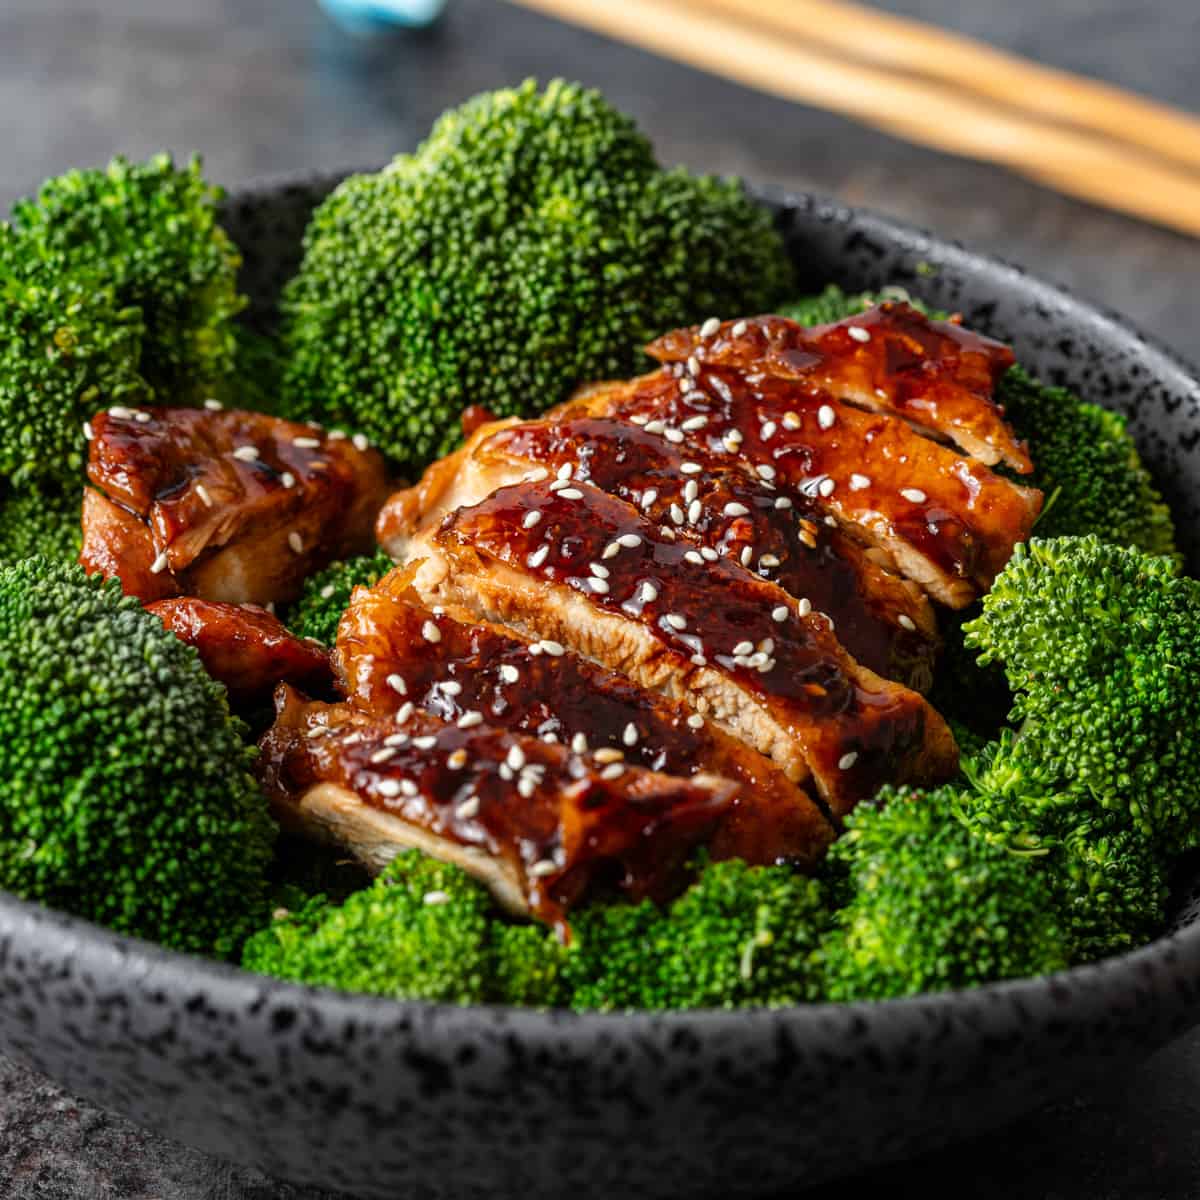
I serve teriyaki chicken with rice and some kind of veggie: bok choy, broccoli, or eggplant are all pretty popular in my household. But if you’d rather plate this savory dish with something lighter, try Japanese cucumber salad!


No Cornstarch Needed for the Sauce!
This teriyaki sauce glazes beautifully and is made with only 4 ingredients! There is NO NEED to add a cornstarch slurry to thicken it up. After rendering the chicken skin and cooking the chicken, the sauce is added with some sugar. This reduces and coats the chicken pieces, glazing them in minutes.

- Chicken Thighs – Selecting a skin-on cut of meat is recommended for a few reasons. The melted fat that renders from the skin is perfect for frying, you can get a beautiful crisp that adds texture to the meal, and the skin keeps the meat moist and juicy while it cooks.
- Teriyaki Ingredients – Feel free to prepare your own homemade teriyaki sauce beforehand, or grab some from the store to save some time. Otherwise, stock up on the following ingredients to whip up just enough to make this teriyaki chicken recipe:
- Soy Sauce – This is how we add the “salty” to the sauce. It’s up to you if you’d rather use bold, dark soy sauce or light soy sauce.
- Mirin – This is where the sweetness comes in. And because it’s fermented, it also contributes to the tangy and savory notes of the dish!
- Sake – Cooking with sake mellows both flavors and scents in the sauce so that it’s not too overwhelming. Chinese cooking wine and dry sherry are both good alternatives.
- Sugar – You’ll need 2 tablespoons of sugar even if using storebought or homemade sauce.
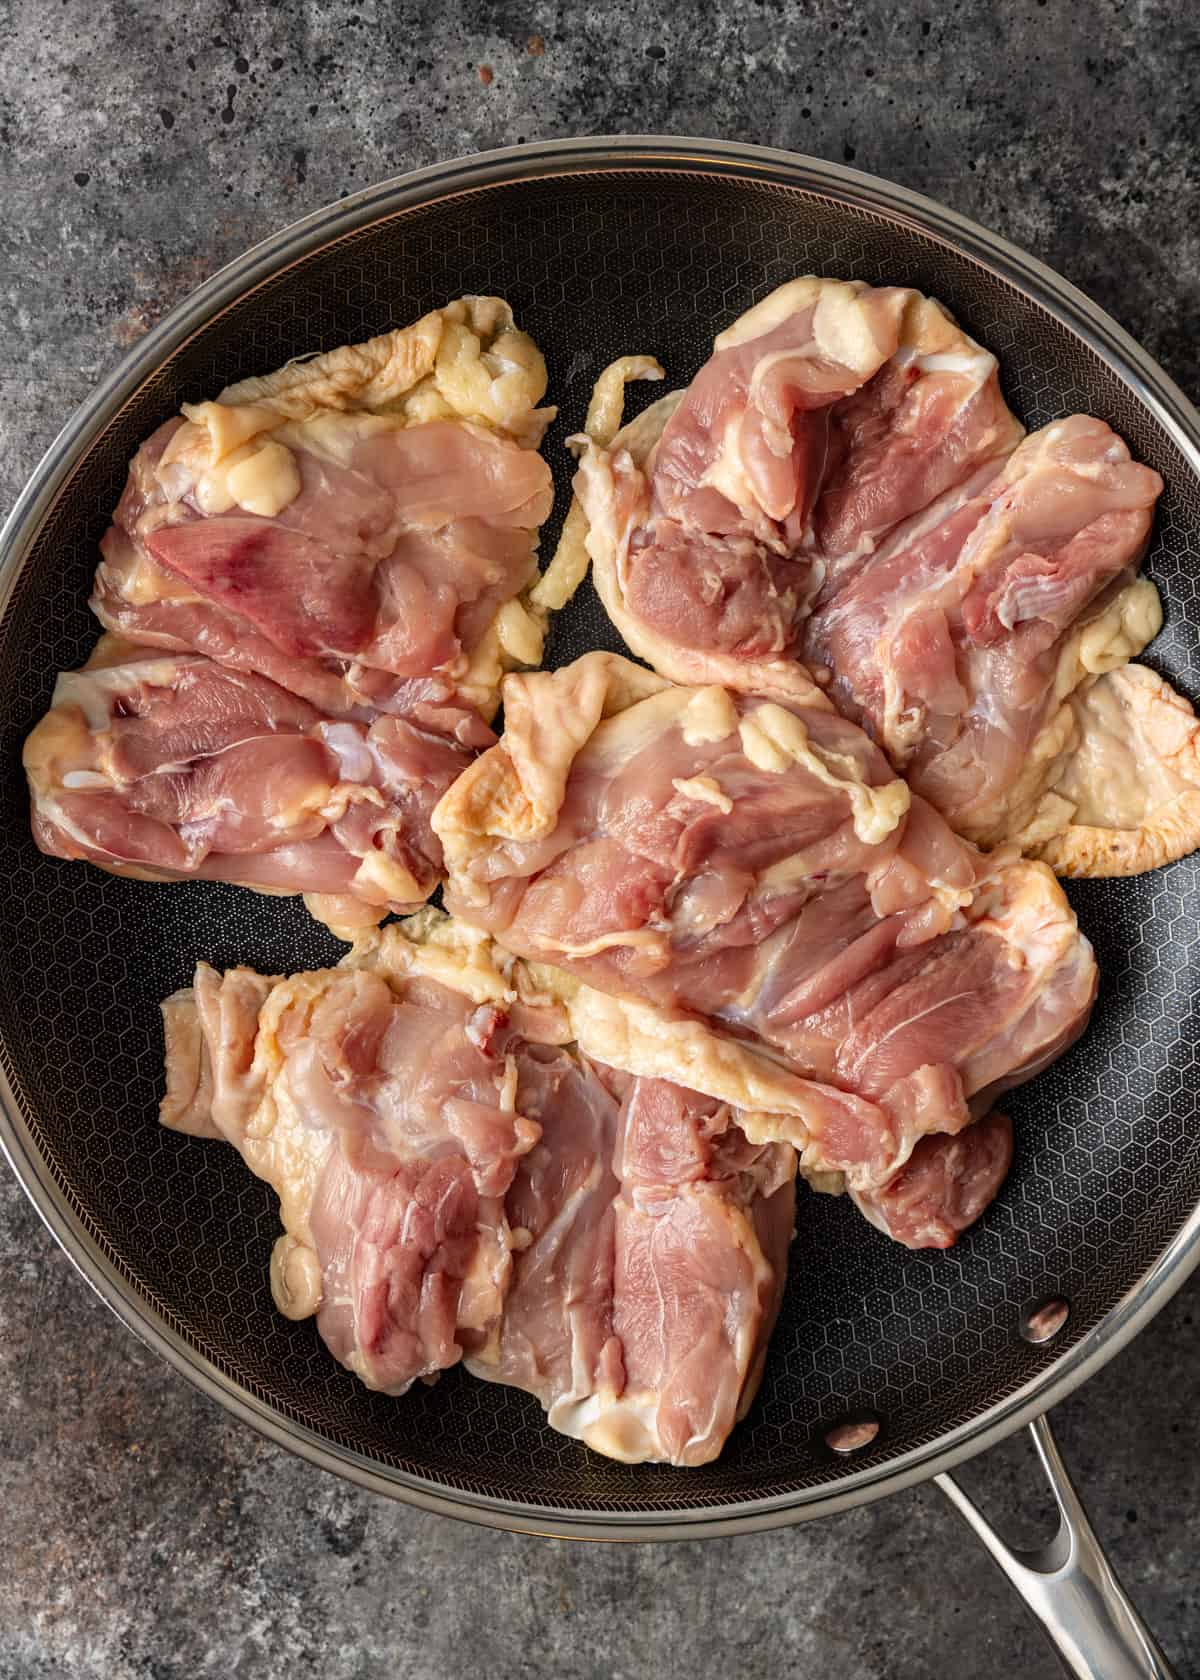
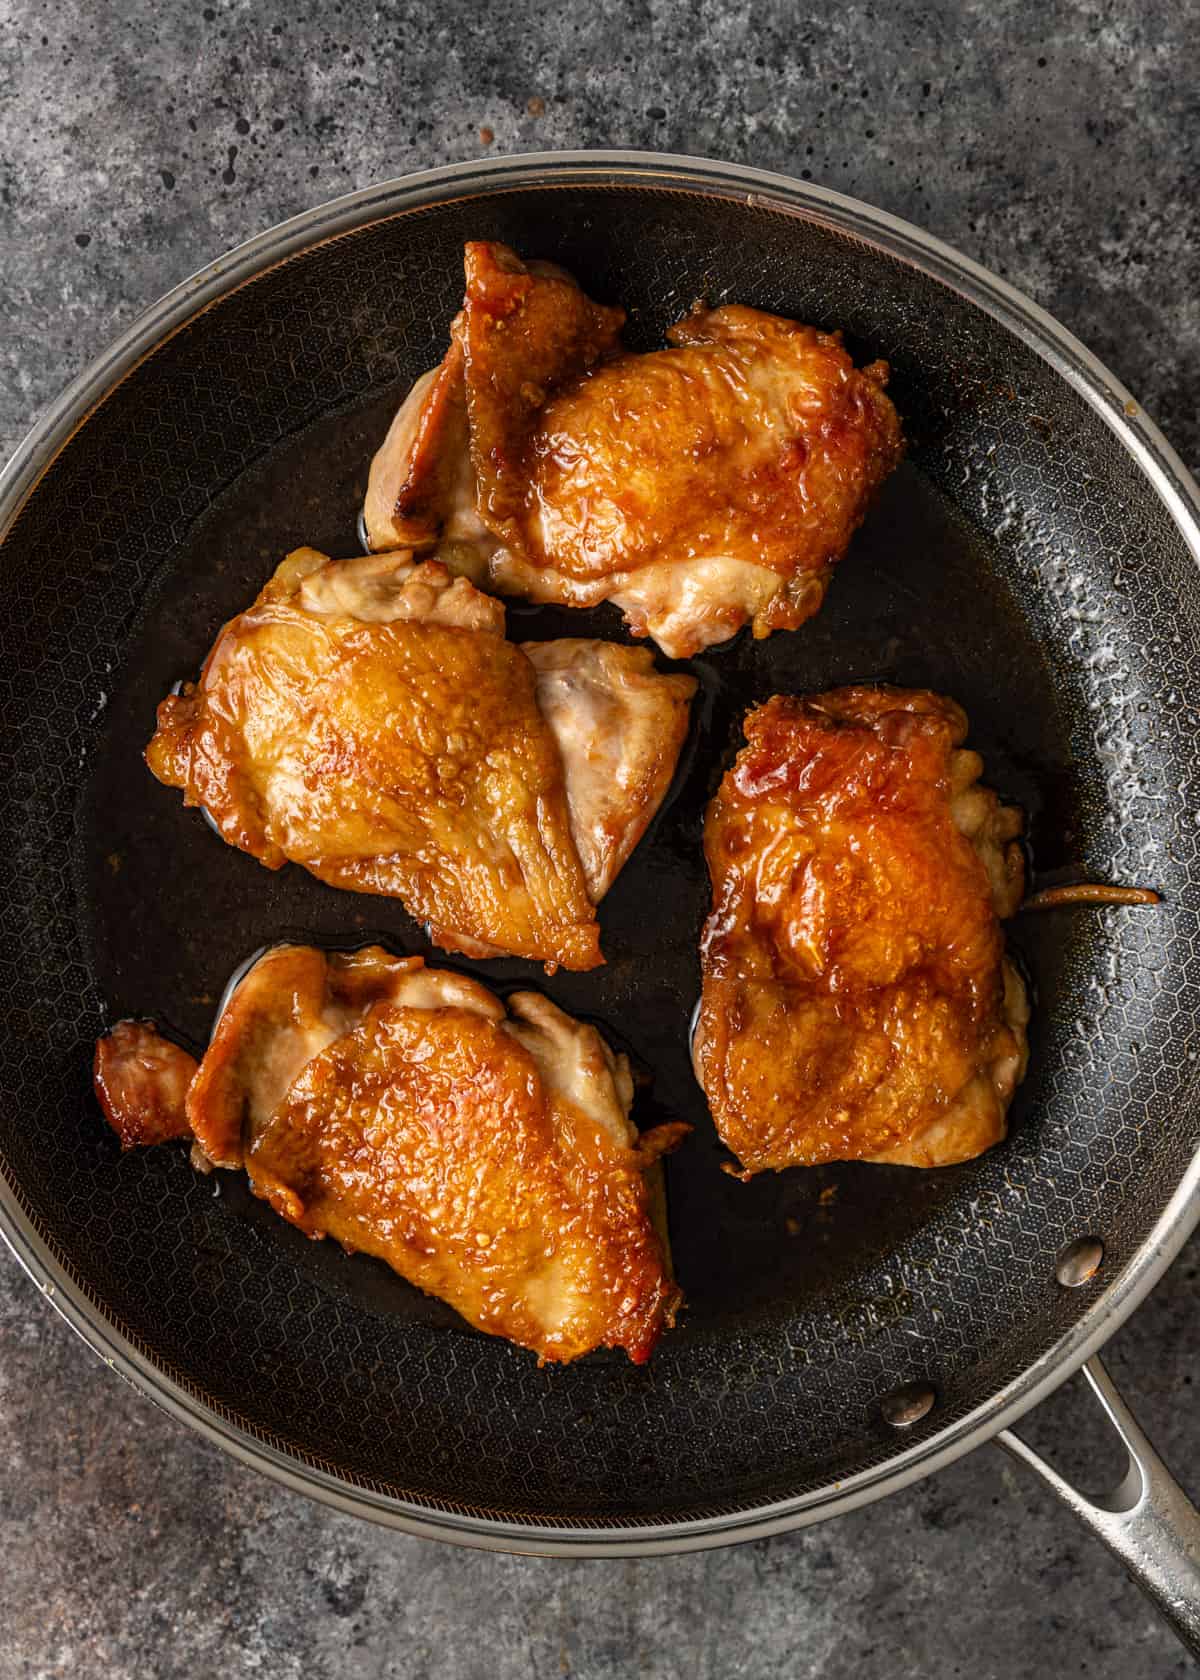
- Prepare Chicken. Before starting, pat the thighs dry with a paper towel. Don’t heat the skillet until you add the meat.
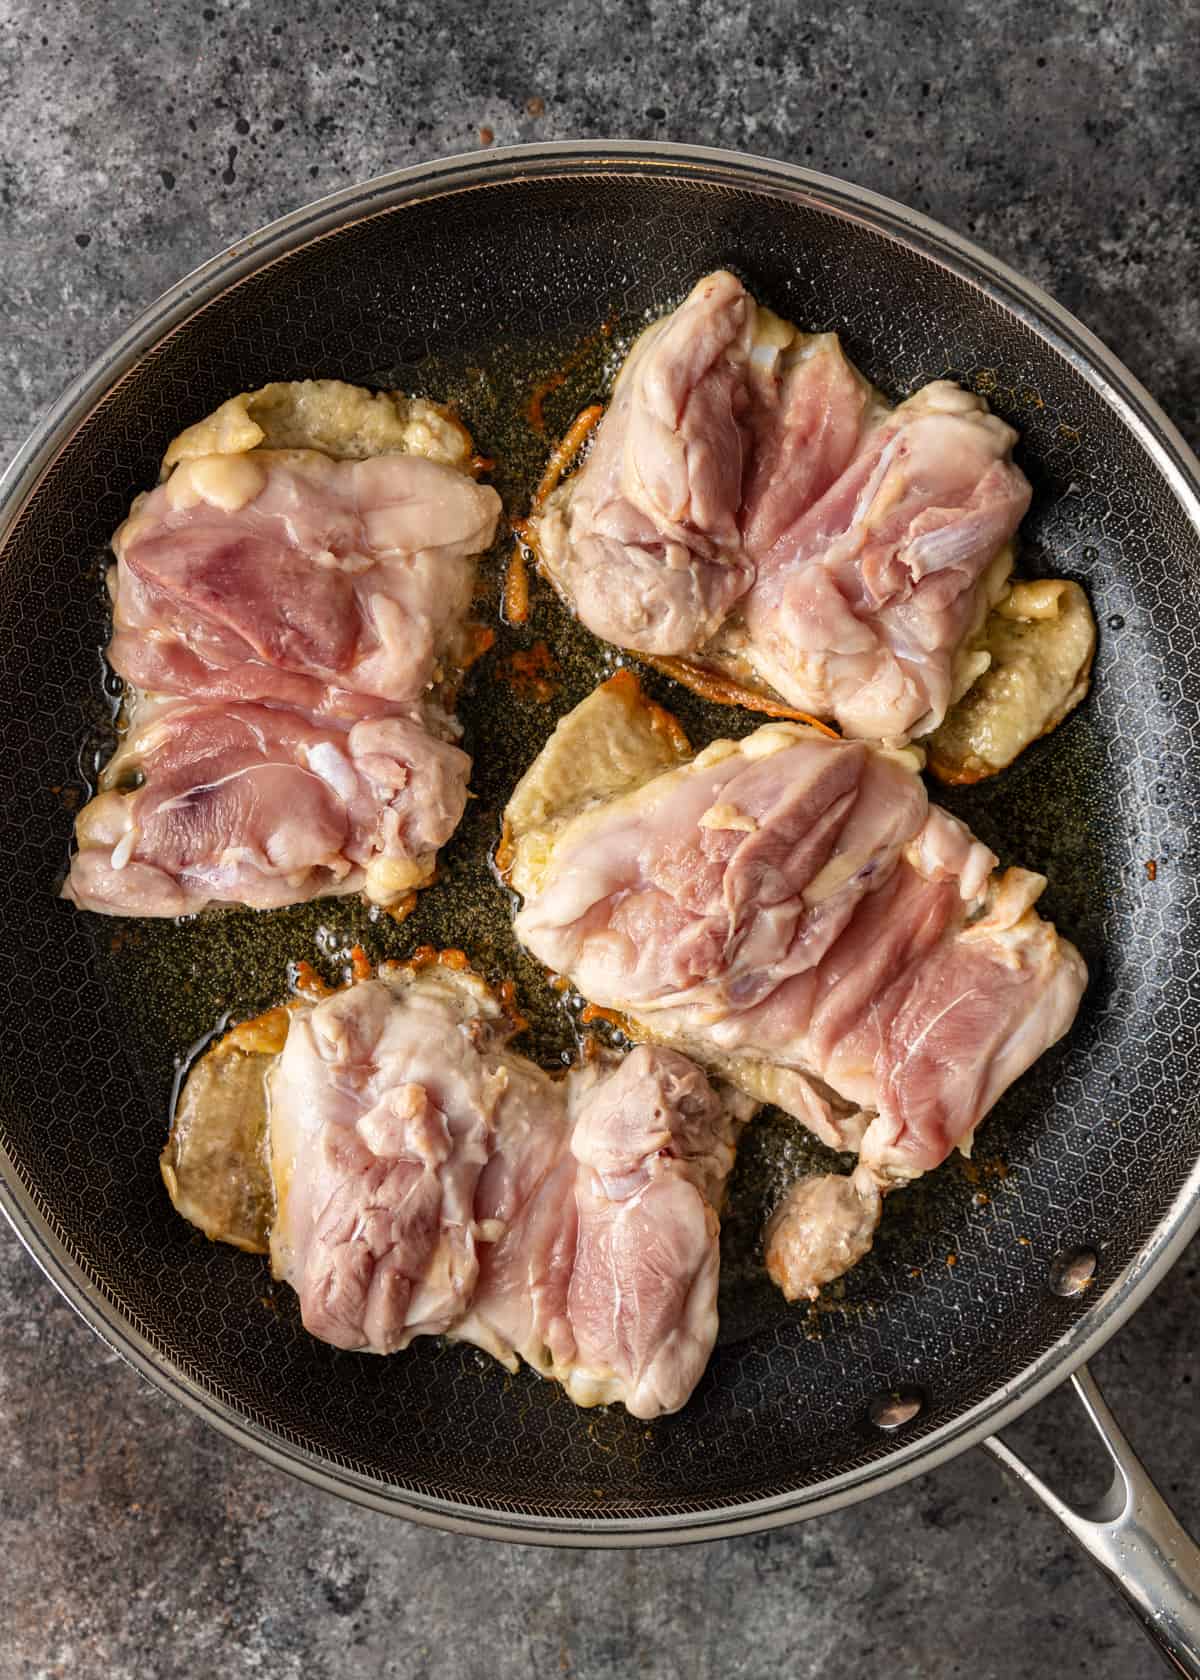
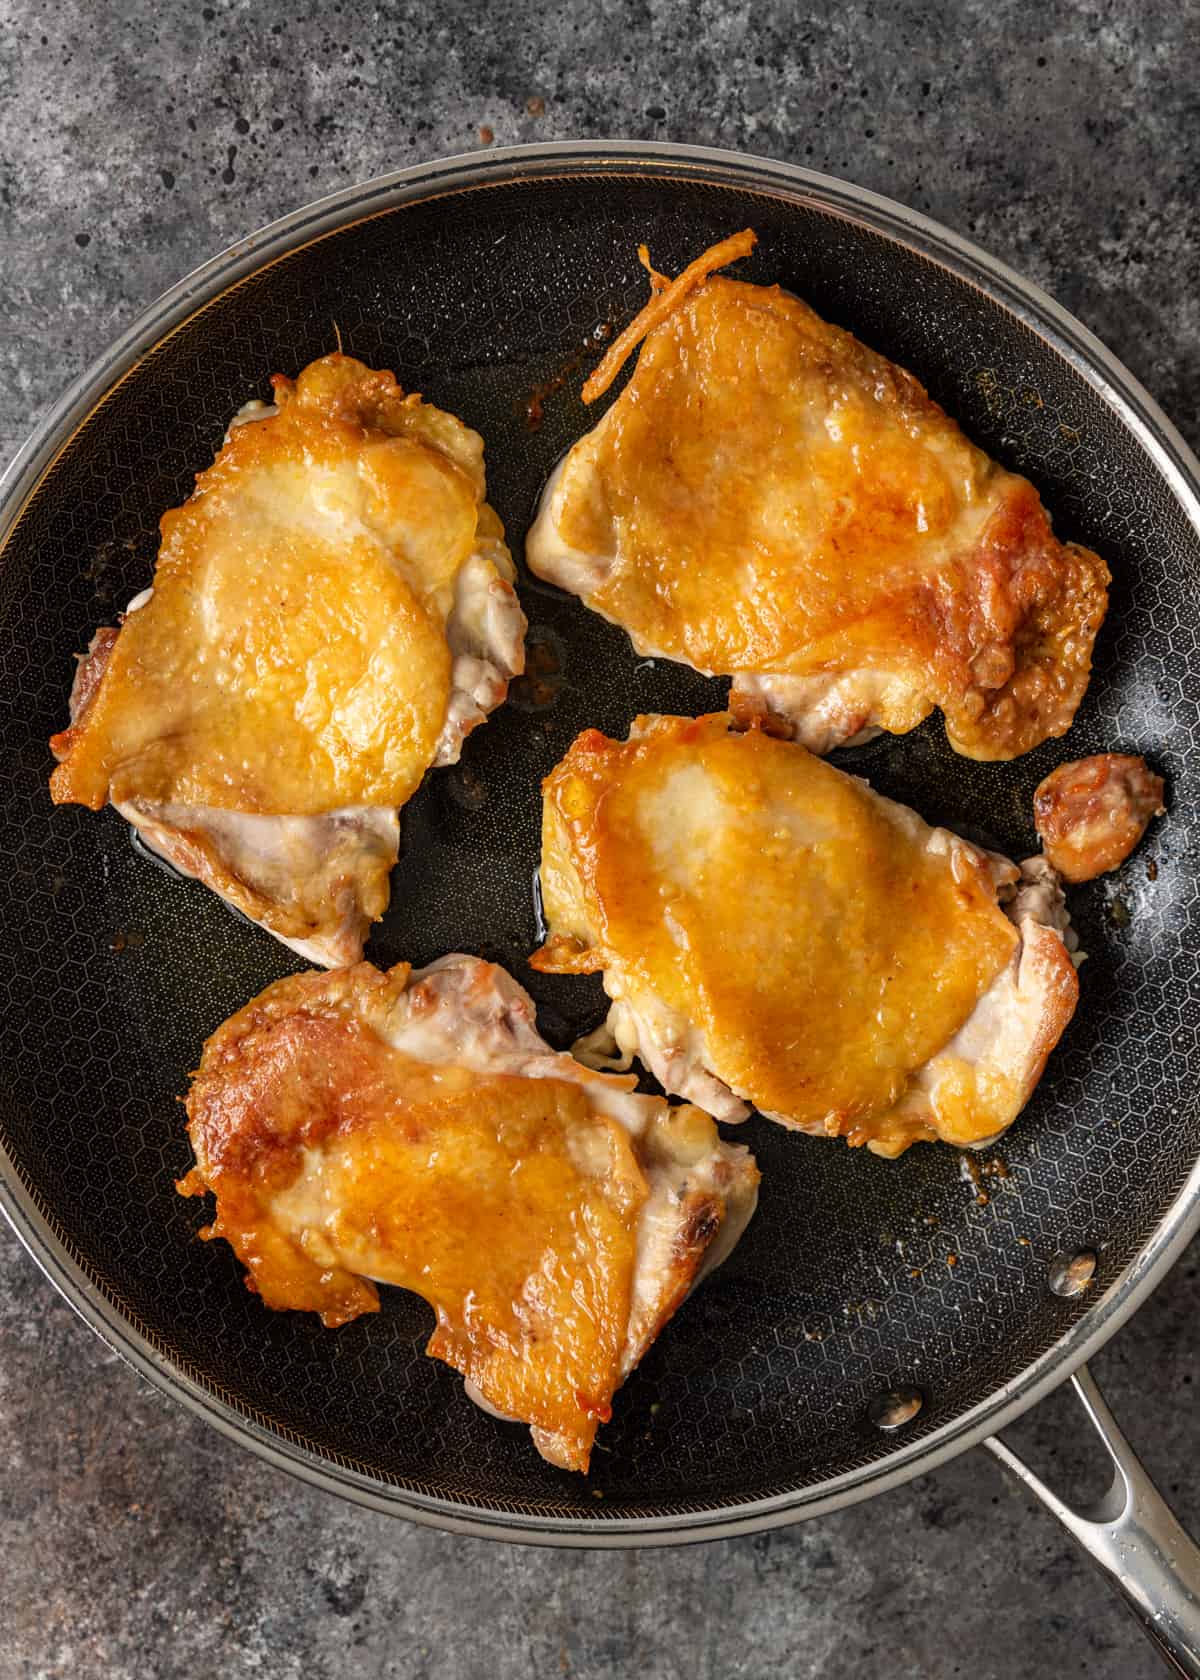
- Fry. Place the thighs in the skillet and turn the heat to medium, slowly rendering the fat from the skin. Then, fry the meat for 3 or 4 minutes per side until crisped and browned. Turn the meat over once more and cook for another 3 minutes until almost cooked through.
- Make Teriyaki. Use a paper towel to drain excess oil from the skillet. Pour in the soy, mirin, sake, water, and sugar, then crank up the heat to high. Cover the skillet and cook for 1 minute.
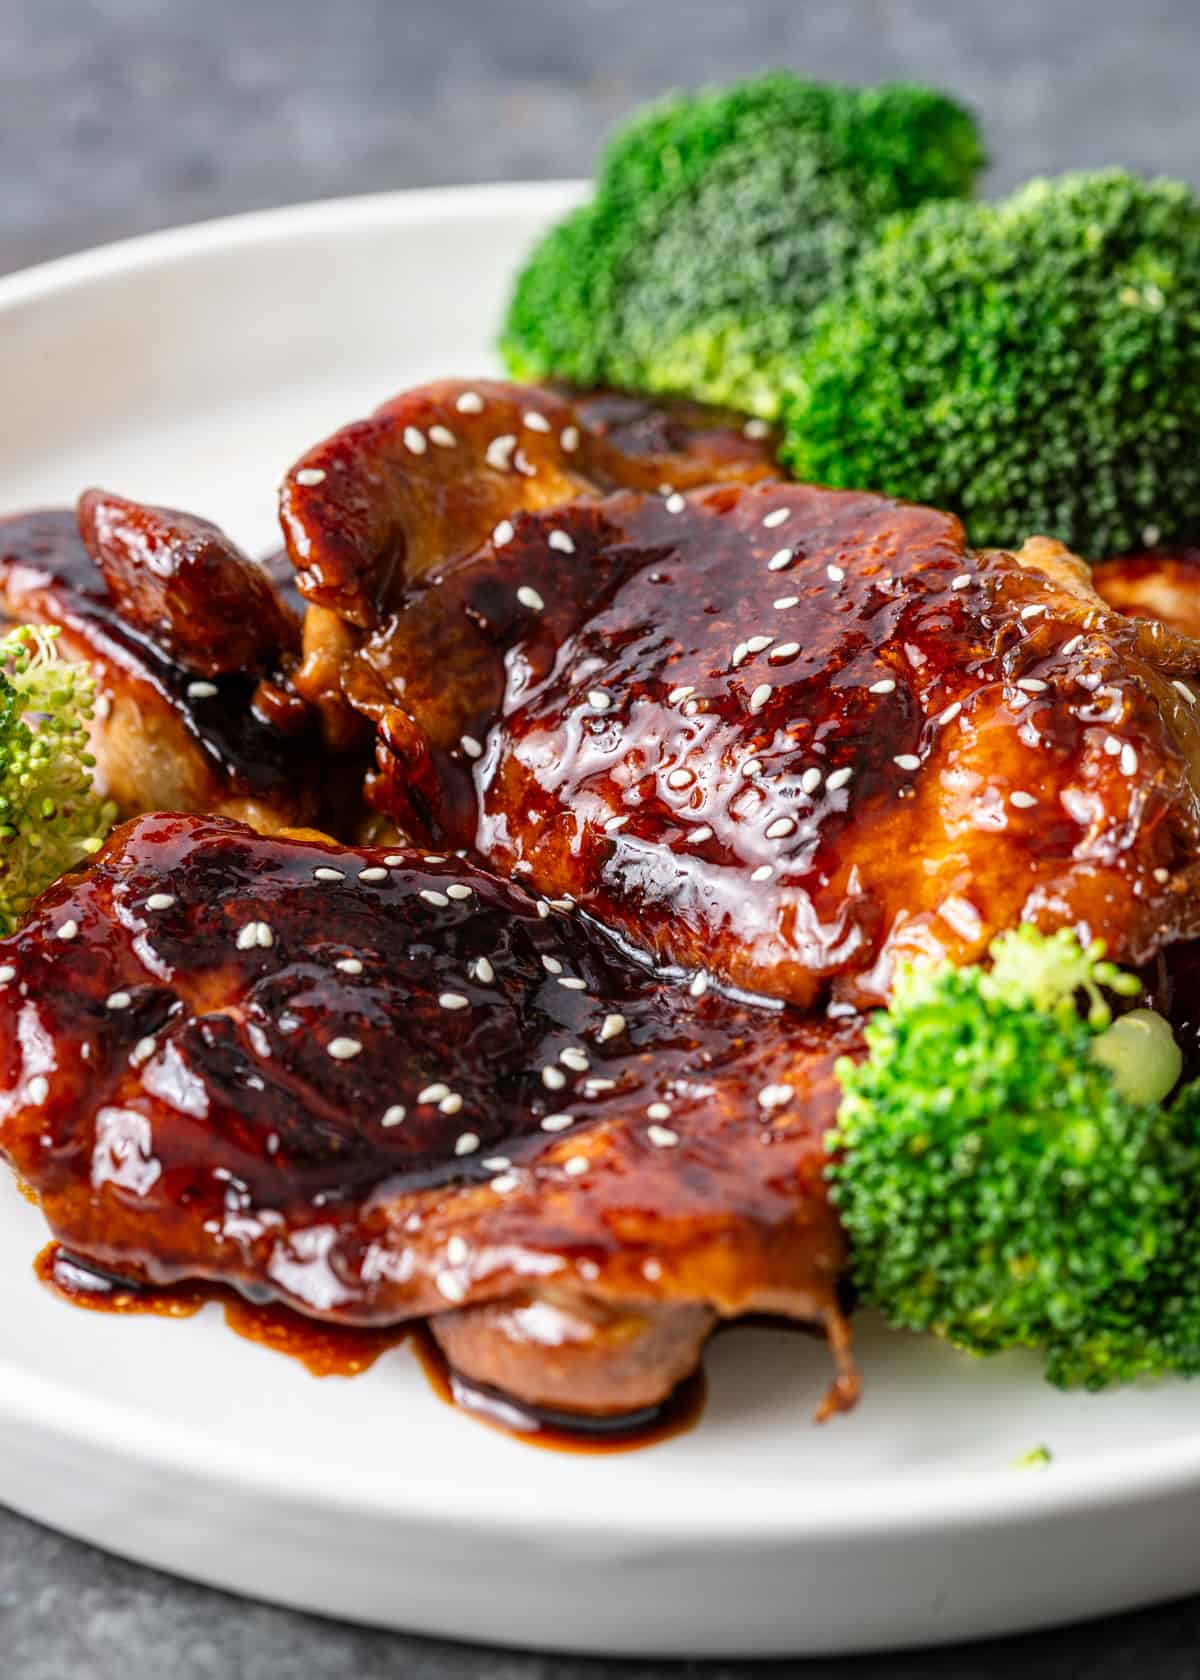
- Glaze. Remove the lid and lower the heat to medium-low. Use tongs to turn the thighs over and over, basting with the liquid in the pan, until almost no liquid remains in the skillet. The chicken should be completely glazed in the sauce.
- Slice & Serve. Transfer the cooked meat to a cutting board and let sit for at least one minute, skin side up, before slicing into ¾” thick pieces. Serve with rice and vegetables of choice.
Recommended Tools
- Skillet – To take advantage of one-pan recipes, you need a pan that can cook in stages: frying, simmering, and stir-frying. The best choice is a large, deep skillet with a lid.
Storing and Reheating
Chicken should be eaten within 4 days of cooking to avoid food-borne illness. Transfer any uneaten teriyaki chicken to an airtight container and store in the refrigerator.
I recommend reheating in the microwave so that meat doesn’t dry out. If you have more sauce on hand (another benefit of making your own!), you can always add more to introduce a bit more moisture to your leftovers.

The sauce is added during cooking. This process, also known as glazing, allows the sauce to cook onto and adhere to the fried chicken skin. It’s how you achieve that sticky, delicious texture we attribute to restaurant-made teriyaki!
I want to start by saying you should never reuse marinade or store it to make it into a sauce later unless it’s been boiled (212°F) for 5 minutes to kill all bacteria. It’s been in contact with raw meat and is contaminated.
What you can do is add the marinade to the pan right alongside the meat after marinating so it cooks at the same time. The sauce laid out in this teriyaki chicken recipe is actually very well suited for marinating, so feel free to marinate the meat for up to 24 hours before starting.
Dark meat that holds up to frying at a higher temperature is best, so I recommend you use thighs for juicy, tender teriyaki chicken. This cut also contains more fat, lending a stronger savory flavor to the dish overall. You can use chicken breast meat, but be careful not to overcook and dry it out.
Share this recipe on Pinterest!
Love this recipe? Share it with the world on Pinterest.

Teriyaki Chicken Recipe
Ingredients
Instructions
- If using homemade or store bought teriyaki sauce, use 1/2 cup in Step 5 below and add the 2 tablespoons sugar, otherwise follow above ingredients.
- Using a paper towel, pat dry both sides of the chicken.
- Place the chicken skin-side down in a large skillet and turn heat to medium (See Note 1). This will slowly render the fat from the skin.
- Fry the chicken until the skin is crisp and browned, about 3-4 minutes. Turn the chicken over and continue frying until the chicken is almost cooked through, about another 3 minutes.
- Drain excess oil using paper towels and discard. Add the soy sauce, mirin, sake, water and sugar to the pan and turn the heat to high. Cover for 1 minute.
- Remove lid. Turn heat to medium-low and using tongs, continuously turn the chicken, basting it with the teriyaki sauce. The chicken is done when there is almost no teriyaki sauce remaining and the chicken is coated with a shiny glaze.
- Remove the pan from the heat and place the chicken on the cutting board, skin side up. Let rest for a minute before slicing.
- Slice the chicken into ¾-inch thick pieces. Serve over steamed rice or vegetables of choice.
Video
Notes
- If you are using skinless chicken, you will need to add 2 teaspoons of vegetable oil to the skillet.
Nutrition
The information shown is an estimate provided by an online nutrition calculator. It should not be considered a substitute for a professional nutritionist’s advice.


Great taste! Reminds me of teriyaki chicken from LA J-town in early sixties. Shredded ginger would be good.
Thanks Rich!
LOVED the simplicity and flavor, great job!
Awesome! Thanks Matt. 🙂
A good version and will make again. The skin didn’t stay as crispy as I liked after basting, but tasted wonderful.
Thanks for giving this one a try and coming back to let me know Stacy. 🙂
Easy, simple and tasty. Another great version Kevin!
Much appreciated Anna, thanks!
This turned out great. Loved how reducing the teriyaki sauce to a glaze was so much better than adding cornstarch for a gloopy thick sauce. Great, highly recommend!
Agreed! Thanks so much for the feedback Harold.