Sushi Pickled Ginger Recipe
Sushi pickled ginger is a Japanese-inspired, palate-cleansing condiment that has been beloved for centuries. Usually served alongside sushi, sashimi, and similar dishes, this bright, beautiful, and zesty condiment is edible art in action.
Pickled ginger is made from thinly sliced pieces of young ginger root pickled in a simple brine of salt, vinegar, and sugar. Known as gari or amazu shoga in Japanese, it is spicy, briny, tangy, and sweet with a delicate crunchy texture.
This lively combination of textures and tastes makes gari a powerful palate cleanser and flavor enhancer. I honestly can’t imagine having a sushi dinner without it!
While this pickled ginger recipe is straightforward and simple, make sure that you plan in advance. You want to allow at least 24 hours for the flavors and color to fully develop. And by the way, this DIY version is going to be far tastier than anything you’ve had at the restaurant!
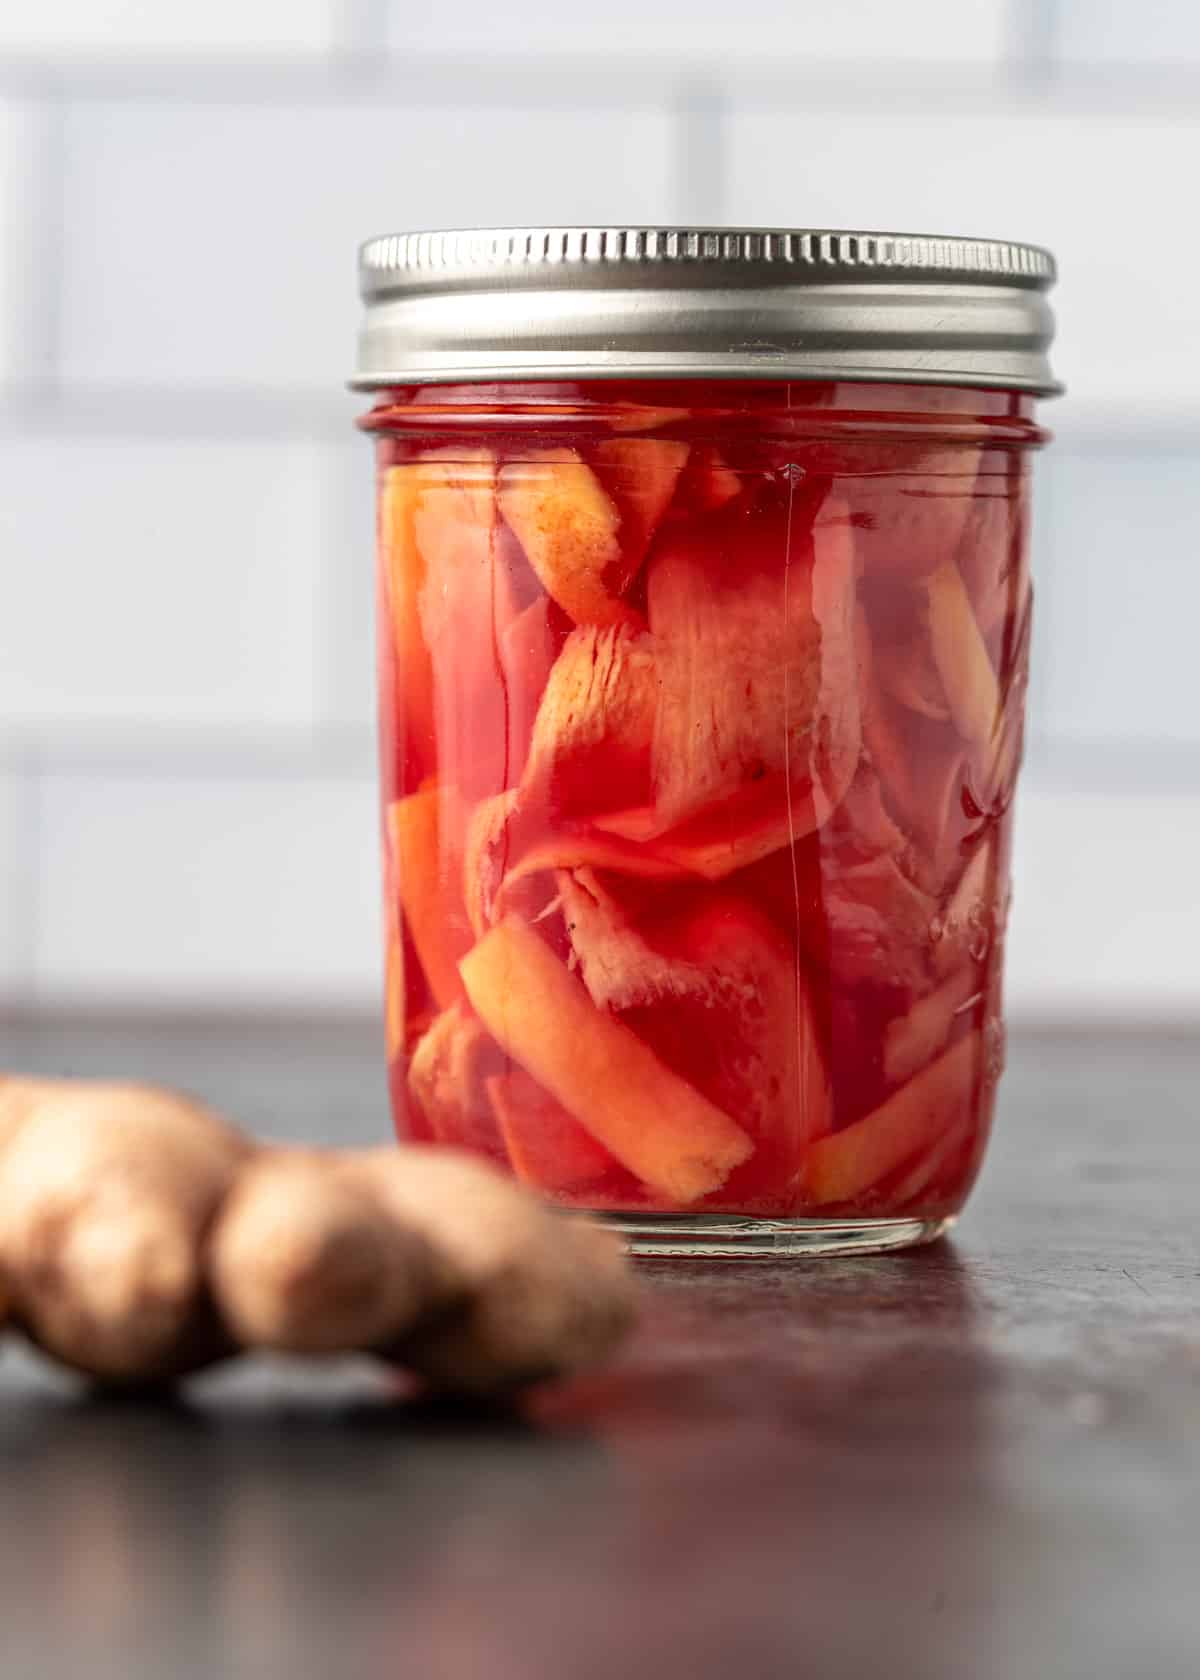
Table of Contents
For more easy pickling projects, check out my Quick Lemon Pickle, Middle Eastern Pickled Turnips, and this Homemade Giardiniera.
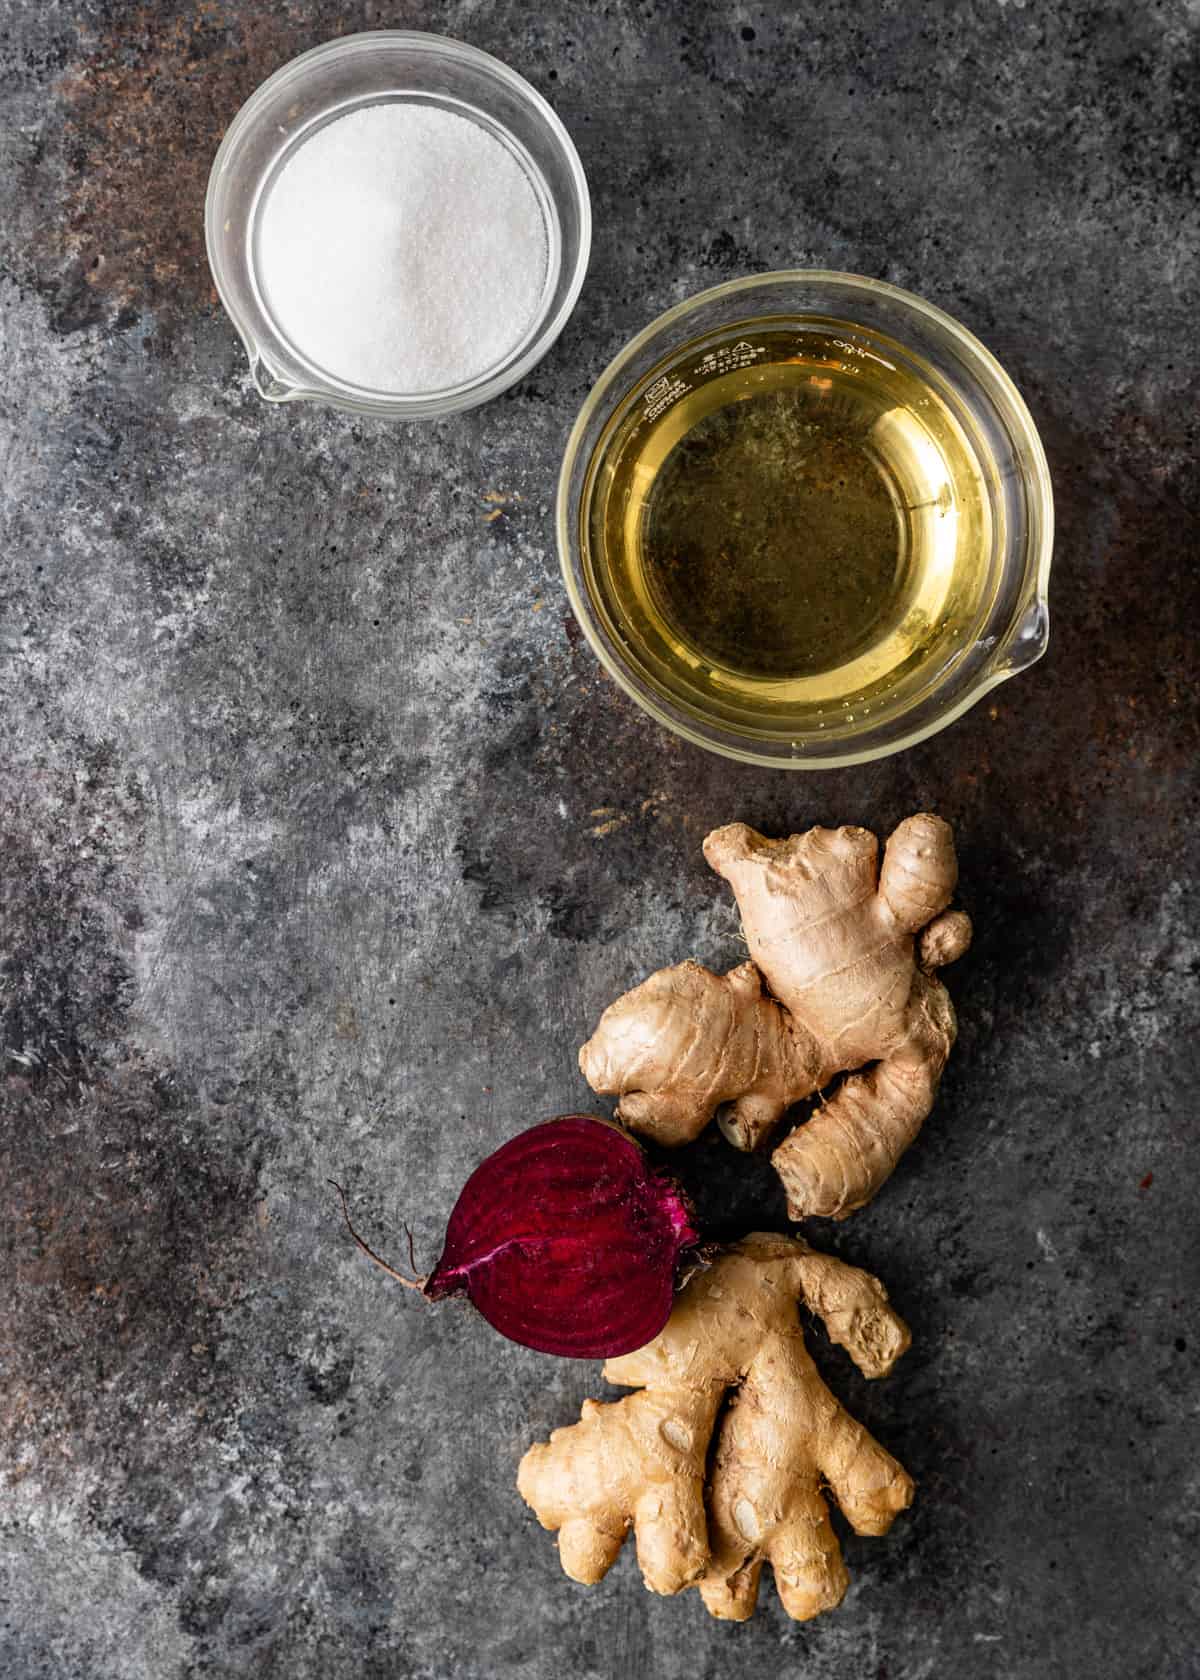
- Ginger – Younger roots are less fibrous and have a less intense spice level. The ideal ginger will be pale and smooth with a thin skin.
- Kosher Salt – Use kosher salt or another coarse ground variety like sea salt or pickling salt.
- Beets – Add a touch of sweet earthiness while adding a lovely purple-red hue.
- Rice Vinegar – Brings a bright tanginess and mild sweetness. Feel free to substitute apple cider or plain white vinegar if needed.
- Sugar – Gives the recipe a touch of sweetness and harmonizes the strong tangy and spicy tones.

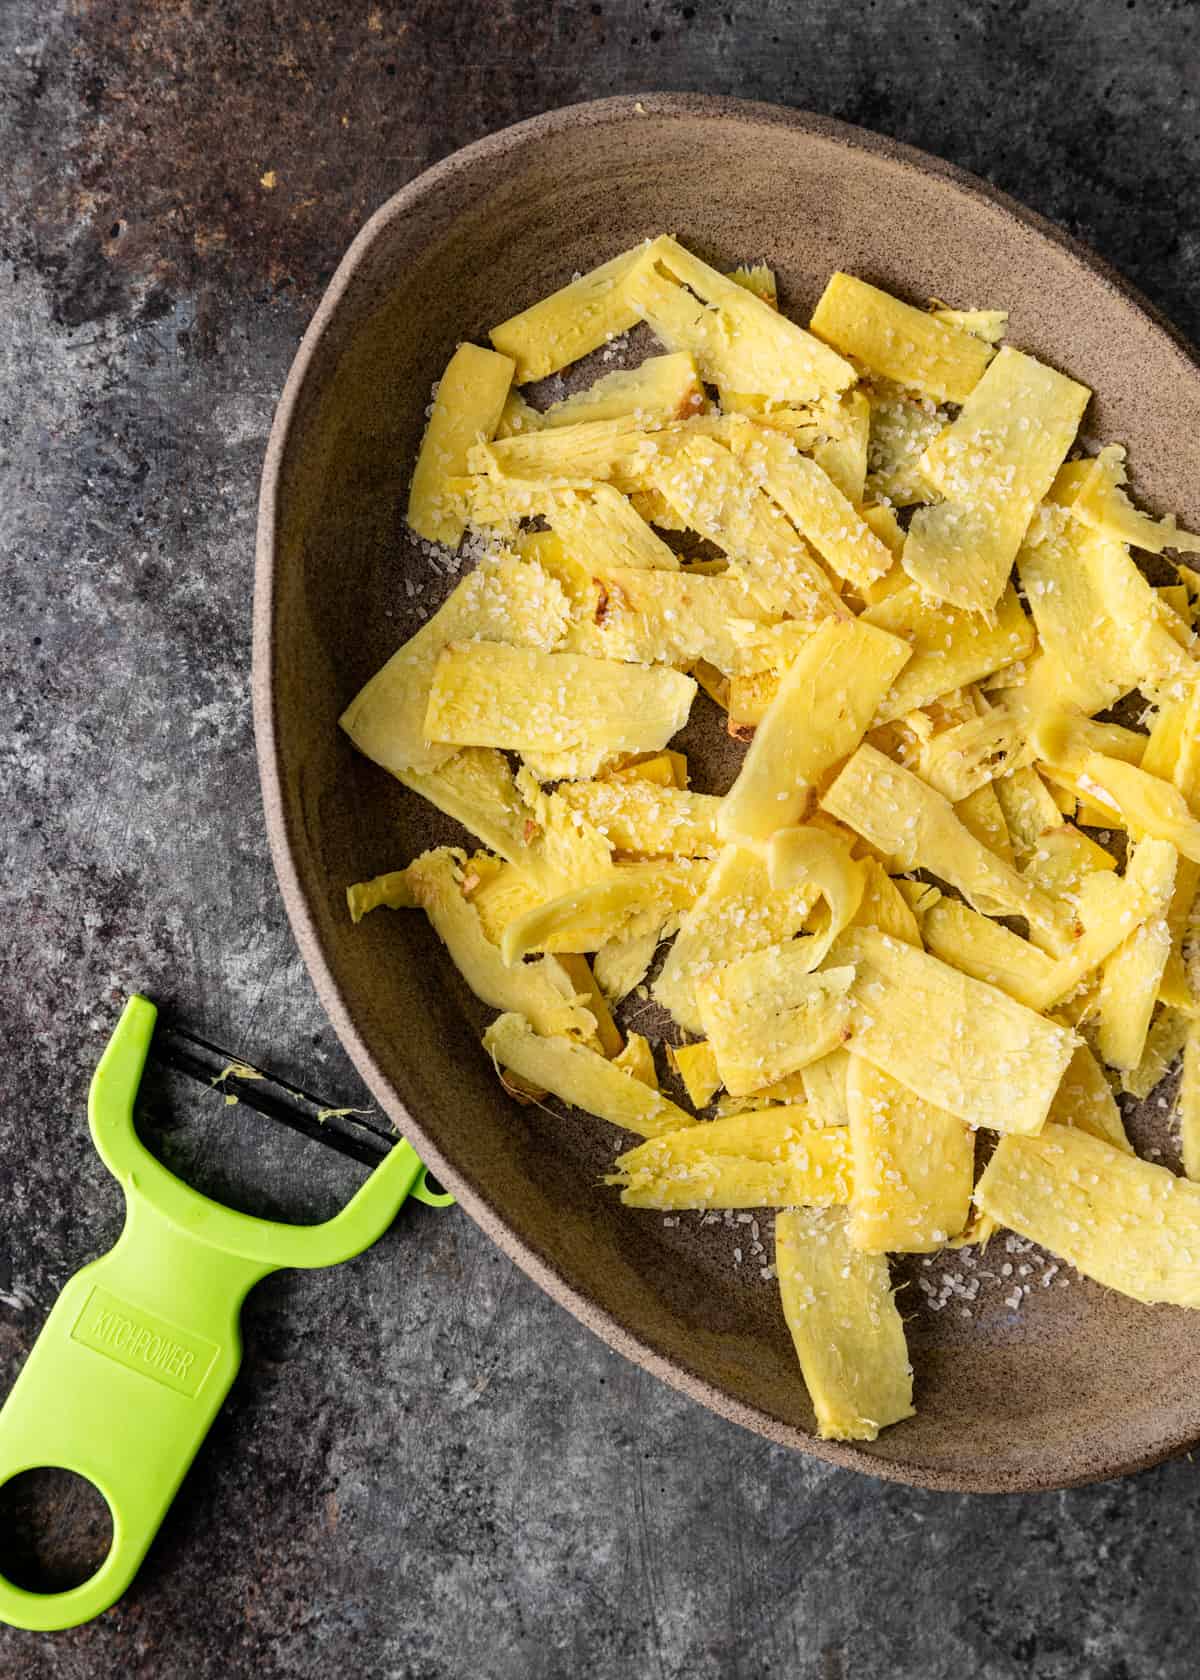
Super Thin Slices
I’ve found using either my trusty vegetables peeler (pulled the length of a peeled ginger root) or using a kitchen mandolin works perfectly for creating these thin slices. You could use an extremely sharp kitchen knife as well.

- Process the Ginger. Use a spoon to remove the outer skin from the ginger root. Then, use either a very sharp knife or a mandolin to slice the ginger into very thin strips.
- Salt the Ginger. Combine the strips with the salt in a small bowl. Massage with your hands, then set aside for at least 30 minutes.
- Prepare the Beet. Slice off a thumb-size worth of beet and store the remainder for other use. Place the cut portion in a small saucepan along with the rice vinegar, sugar, and water. Bring to a boil, stirring to dissolve the sugar, and cook for one minute.
- Transfer the Ginger. Squeeze the excess liquid out of the ginger strips and transfer them to a jam jar with a tight-fitting lid. You want the jar to be 8 ounces or larger in volume.
- Add the Beet Brine. Carefully pour the hot beet liquid into the jar with the ginger. Press down gently to make sure everything is submerged, then set aside to cool.
- Seal & Refrigerate. Once cooled, use a spoon to remove the piece of beetroot from the jar. Seal and place in the refrigerator for a minimum of 24 hours to let the flavors develop and for the pieces of ginger to soften. Keep refrigerated and enjoy for up to a month.

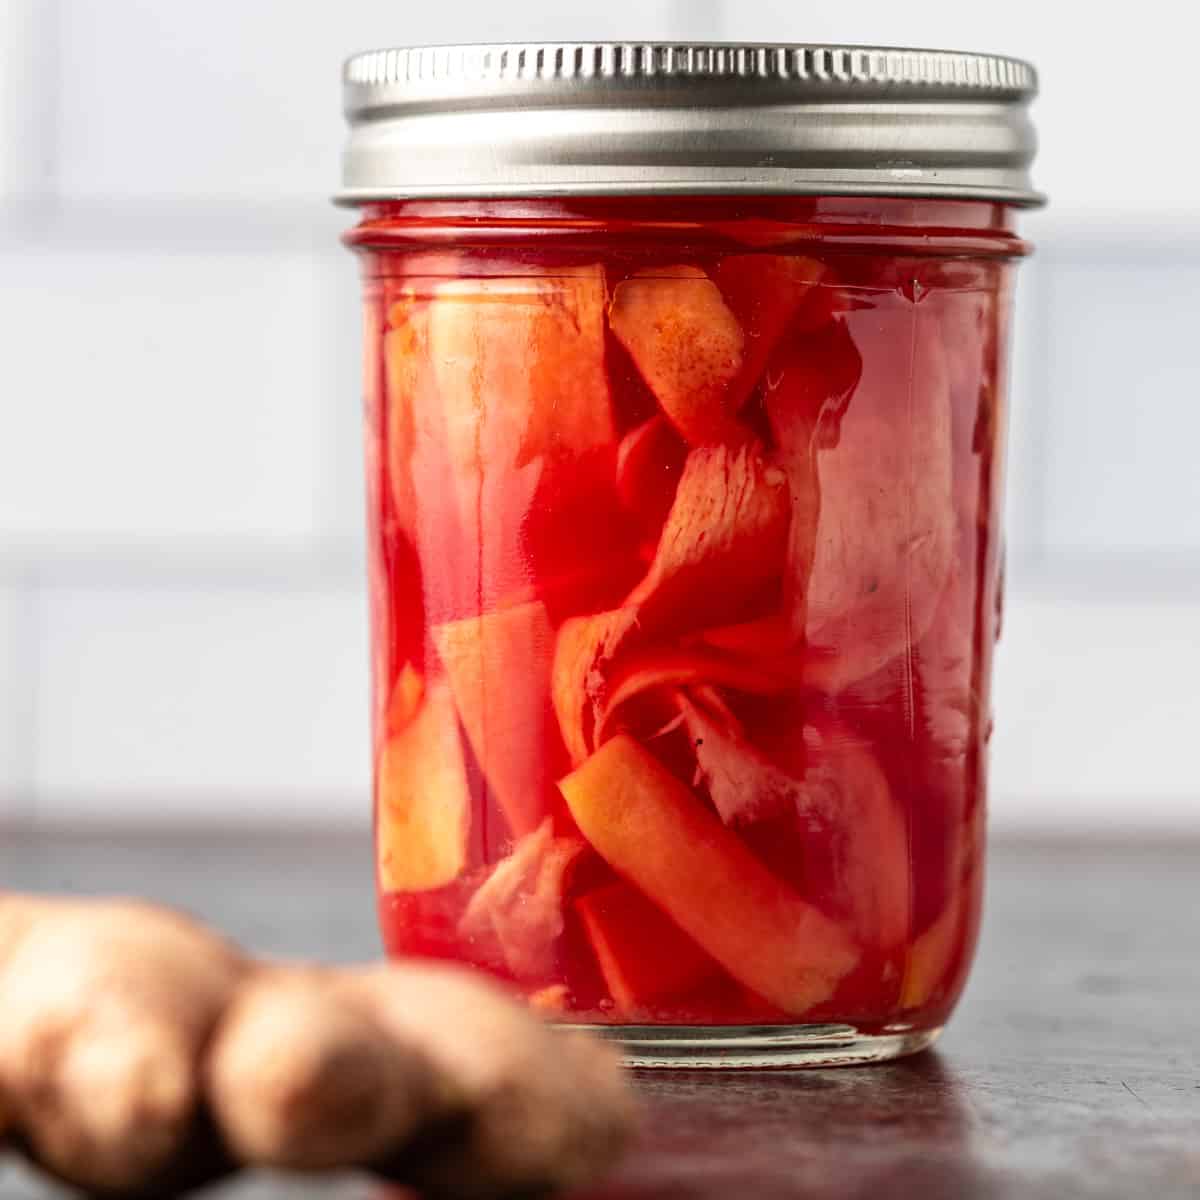
Pickled ginger will frequently, but not always, turn a pale to dark pink color during the pickling process. Other times, it will retain a white or yellow color. All of this is acceptable!
Wondering why it turns pink? This part is pretty cool in my opinion! Ginger root naturally contains water-soluble pigments (anthocyanins) that can turn blue, purple, or red, depending on acidity. The pickling solution creates the perfect pH for the red part of the spectrum to develop, giving us that lovely pink color. Given more time in the solution, the red hue will continue to deepen.
In this pickled ginger recipe, I’ve included a beetroot brine to give the ginger a color boost. If going with store-bought, be sure to check the label, as some commercial brands will include artificial coloring as a shortcut.
Pickled ginger is bold, bright, and totally unique. It is slightly sweet from the sugar and tangy and sour from the rice vinegar. The spice level in any batch will differ slightly, depending on the ginger root used and any other ingredients in the pickling solution. Texture-wise, you can expect moist, thin slices with a tender crispness.
It’s the ultimate palate cleanser and is traditionally served in between courses of sushi. However, there are plenty of ways to incorporate gari into your day. Here are a few recipe ideas to get you started:
– Serve alongside Sushi Stacks, sushi rolls, or any of your favorite sushi creations.
– For a dynamite lunch, serve a few slices with a steaming bowl of Miso Soup and a fresh Ahi Japanese Poke Bowl.
– Freshen up your palate when enjoying noodle dishes like Shrimp Ramen Salad or Pork Ramen.
– Toss a few slices on any of your favorite salads like this Sunomono Salad or Thai Mango Salad.
– Use as a condiment for sandwiches like this Pork Belly Sandwich or Thai Burger.
– Serve with Stir Fry, Beef Lo Mein, or any of your favorite Asian-inspired dishes.
Share this recipe on Pinterest!
Love this recipe? Share it with the world on Pinterest.

Sushi Pickled Ginger Recipe
Ingredients
- 5 oz fresh ginger
- 1 tsp kosher salt
- 1 small beet
- 1/2 cup rice vinegar
- 1/4 water
- 1/4 cup sugar
Instructions
- Use a spoon and scrape the outer skin off the ginger root. Then, using a vegetable peeler or food mandoline, cut the ginger into thin strips.
- Transfer ginger to bowl and toss with salt. Gently massage and set aside for 30 minutes.
- Cut a tablespoon piece of beet and store the rest for other use.
- Place the beet in a saucepan add along with the vinegar, water and sugar. Stir to dissolve and bring to a boil. Cook 1 minute.
- Squeeze the ginger to extract excess liquid and place in a 8 ounce jam jar or larger jar with lid. Pour the hot brine over the ginger, pressing down to submerge, and let cool.
- Remove piece of beet and seal jar. Refrigerate for at least 24 hours for flavors to develop and ginger to soften. Keep refrigerated for up to 1 month.
Notes
Nutrition
The information shown is an estimate provided by an online nutrition calculator. It should not be considered a substitute for a professional nutritionist’s advice.


Great idea! Now I make whenever I need and that beet trick it the best!
Thanks, so glad you’re enjoying these and thanks for coming back to let me know. 🙂
These are so simple to make and so tasty. Love the palette cleanse whenever I want when I make sushi at home!
Thanks for coming back and letting me know Carolyn.
Who knew how easy it was to make! These are now always in my fridge.
So glad you enjoy these Stan.