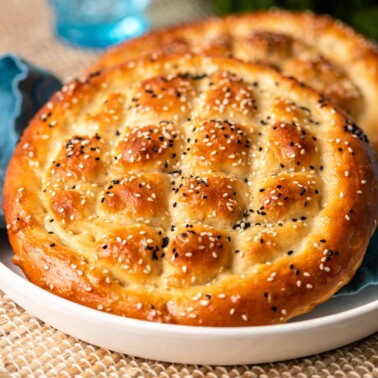
Khachapuri (Georgian Cheese Bread)
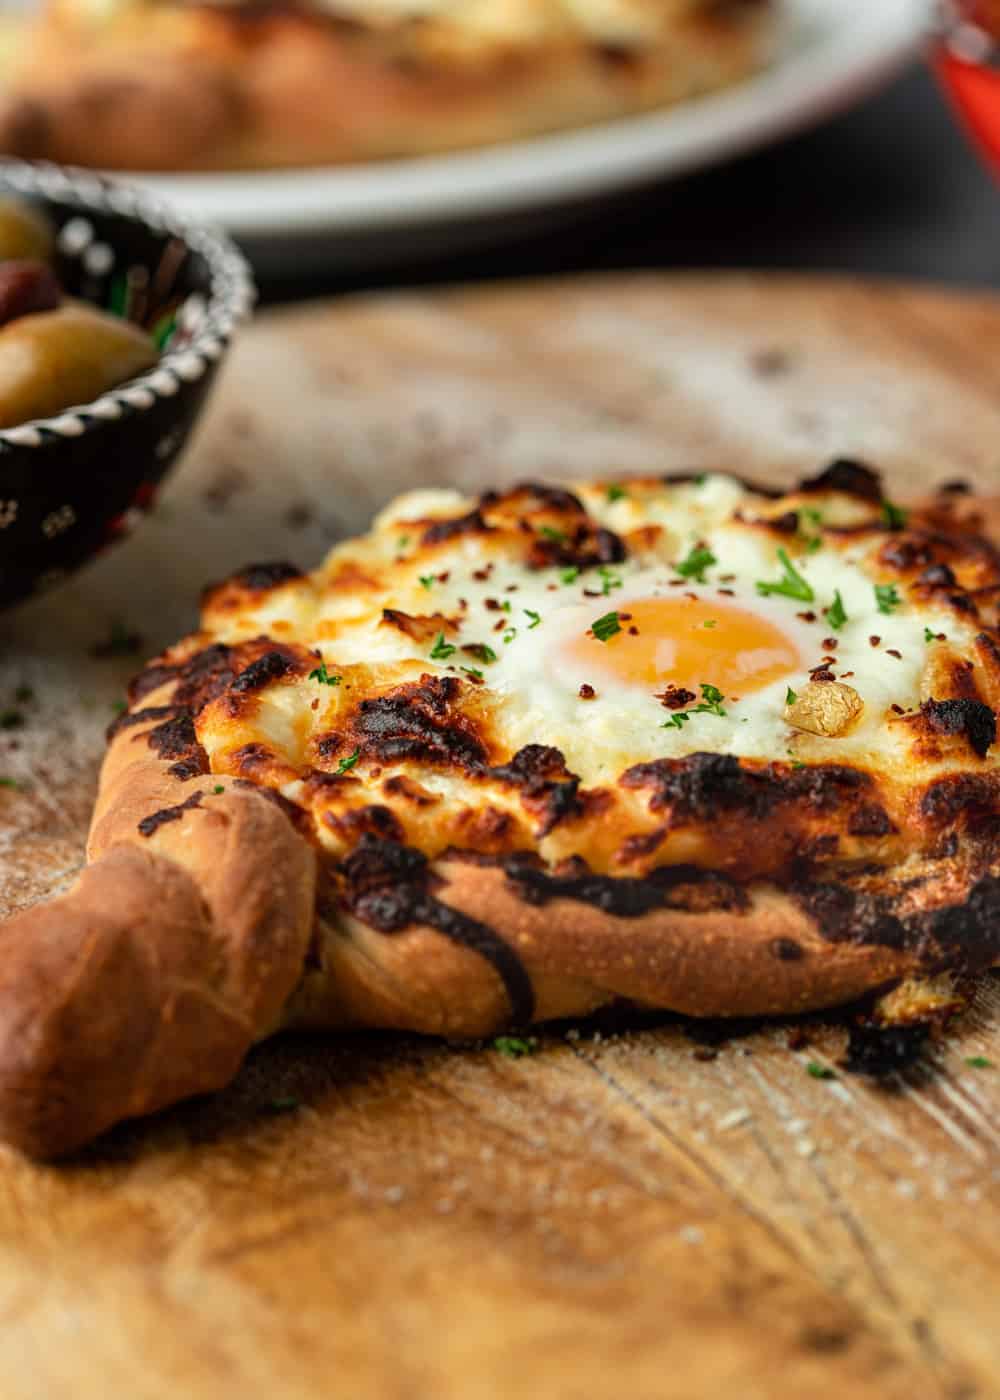
Georgian Khachapuri is made with a simple yeast dough and topped with a tangy, creamy cheese topping and a single baked egg. It’s a great breakfast or appetizer to pull apart and dip into the cheesy, eggy center!

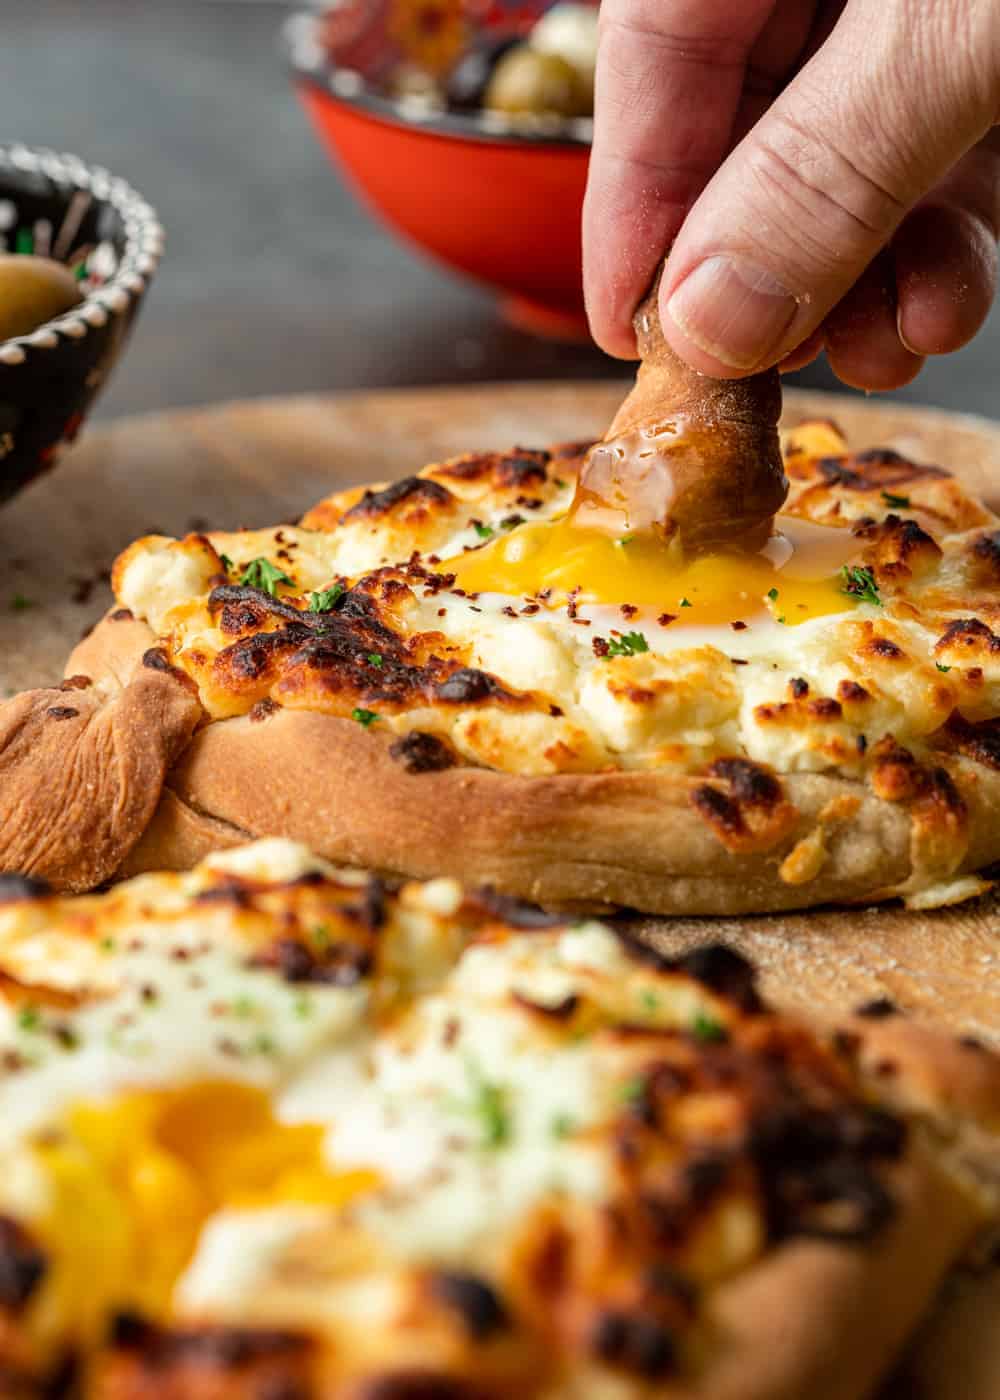
Khachapuri is the national dish of Georgia, and for good reason! It’s a hearty bread dish loaded with melted cheese and an egg – flavors that no one can resist. No extra bread or dipping sauces necessary – you tear off pieces of the bread and dip it right into the egg and cheese in the center. It’s as fun to eat as it is to prepare!
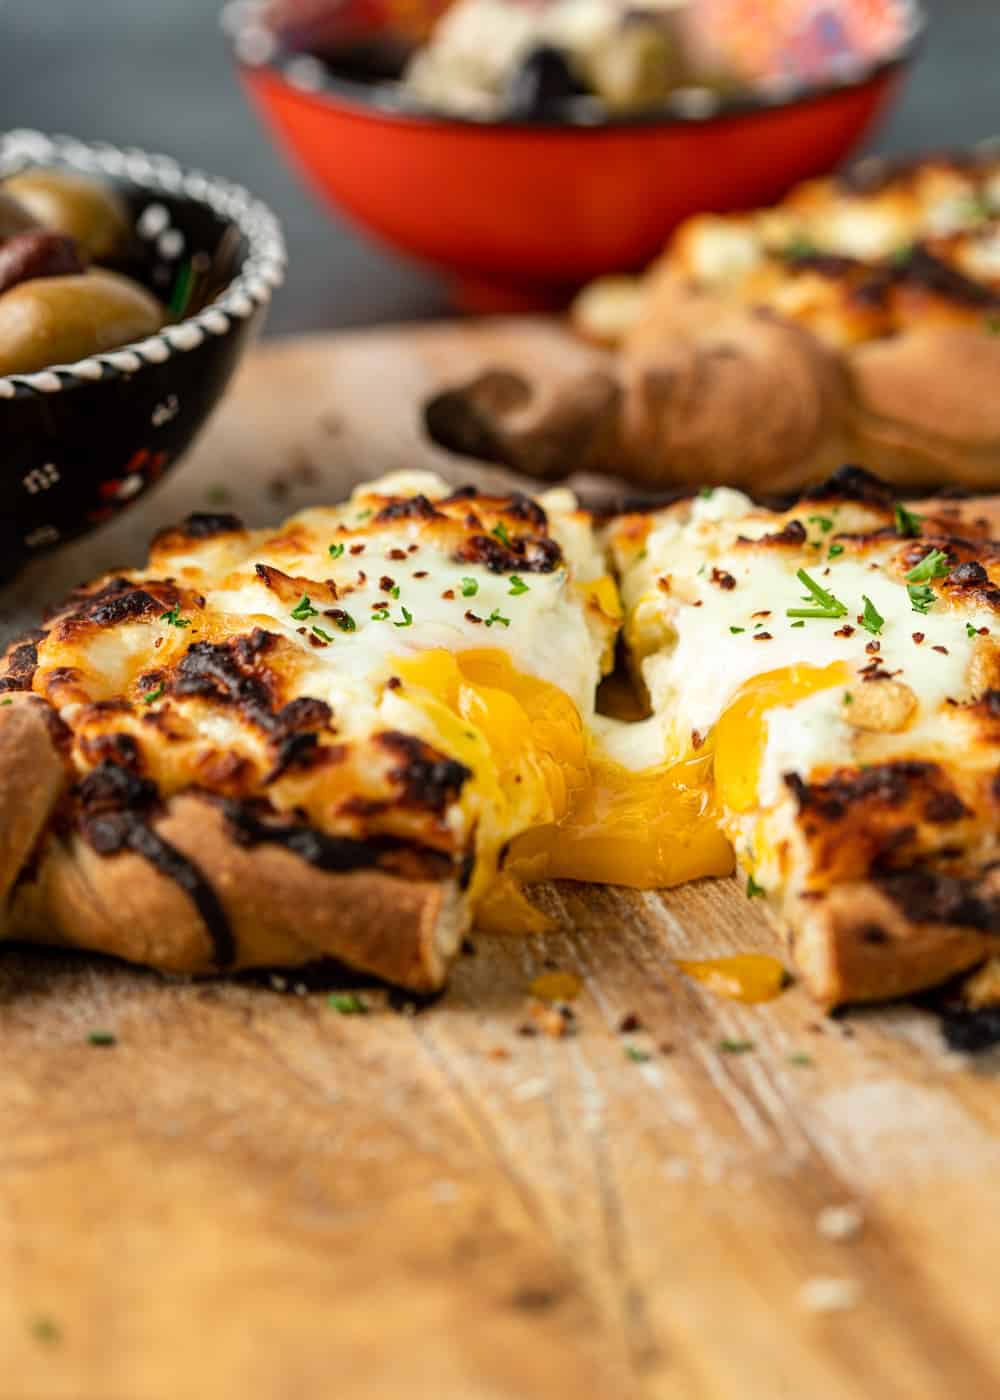
Two cheeses are used in this delicious cheese bread: mozzarella and feta. The two together make a creamy, tangy melted cheese pool in the center.
Table of Contents
The boat shape of the khachapuri looks tricky, but is actually very easy to form! Take a look at the video in the recipe card below for a visual guide.
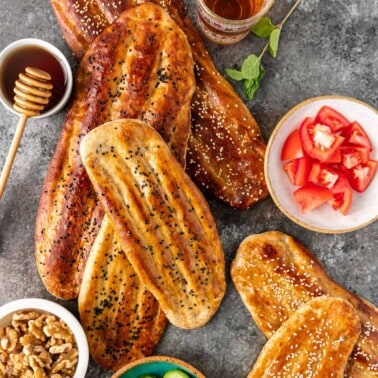
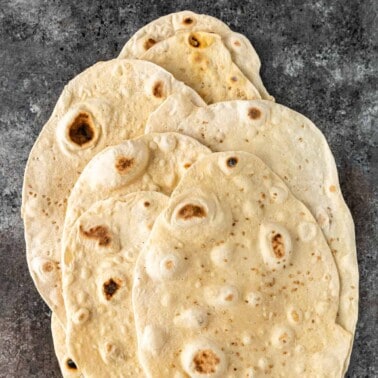
If you want to play around with different toppings, try making Manakish or this Armenian Flatbread, or lavash, to customize and serve however you like!
- Dough – A simple combination of all-purpose flour, olive oil, salt, instant dry yeast, and sugar. Using an instant yeast speeds up the process considerably as it does not have to proof first.
- Mozzarella Cheese – It’s important to use freshly shredded cheese rather than the pre-shredded, bagged alternative. The waxy preservatives (sometimes potato starch) on the pre-shredded cheese will prevent proper melting and alter texture.
- Feta Cheese – I recommend using crumbled feta. If you’re working with a block, break off smaller pieces to scatter about. Goat cheese is your best substitute.
- Large Eggs – If you want to use an egg wash, rather than an olive oil brushing, then keep an extra egg on standby.
- Parsley – I recommend freshly chopping this herb for your topping, but you could use the dried seasoning if fresh is unavailable. Use oregano, thyme, or rosemary as a substitute.
Boat Shaped Cheese Bread
This Khachapuri recipe is also known as Georgian Cheese Bread. There are many variations of Georgian cheese bread and each depends on the region and baker from where it’s made. This recipe for the boat-shaped kind, is called khachapuri adjaruli. It’s a yeast bread stuffed with multiple different kinds of cheese and gets topped with an egg in the center.
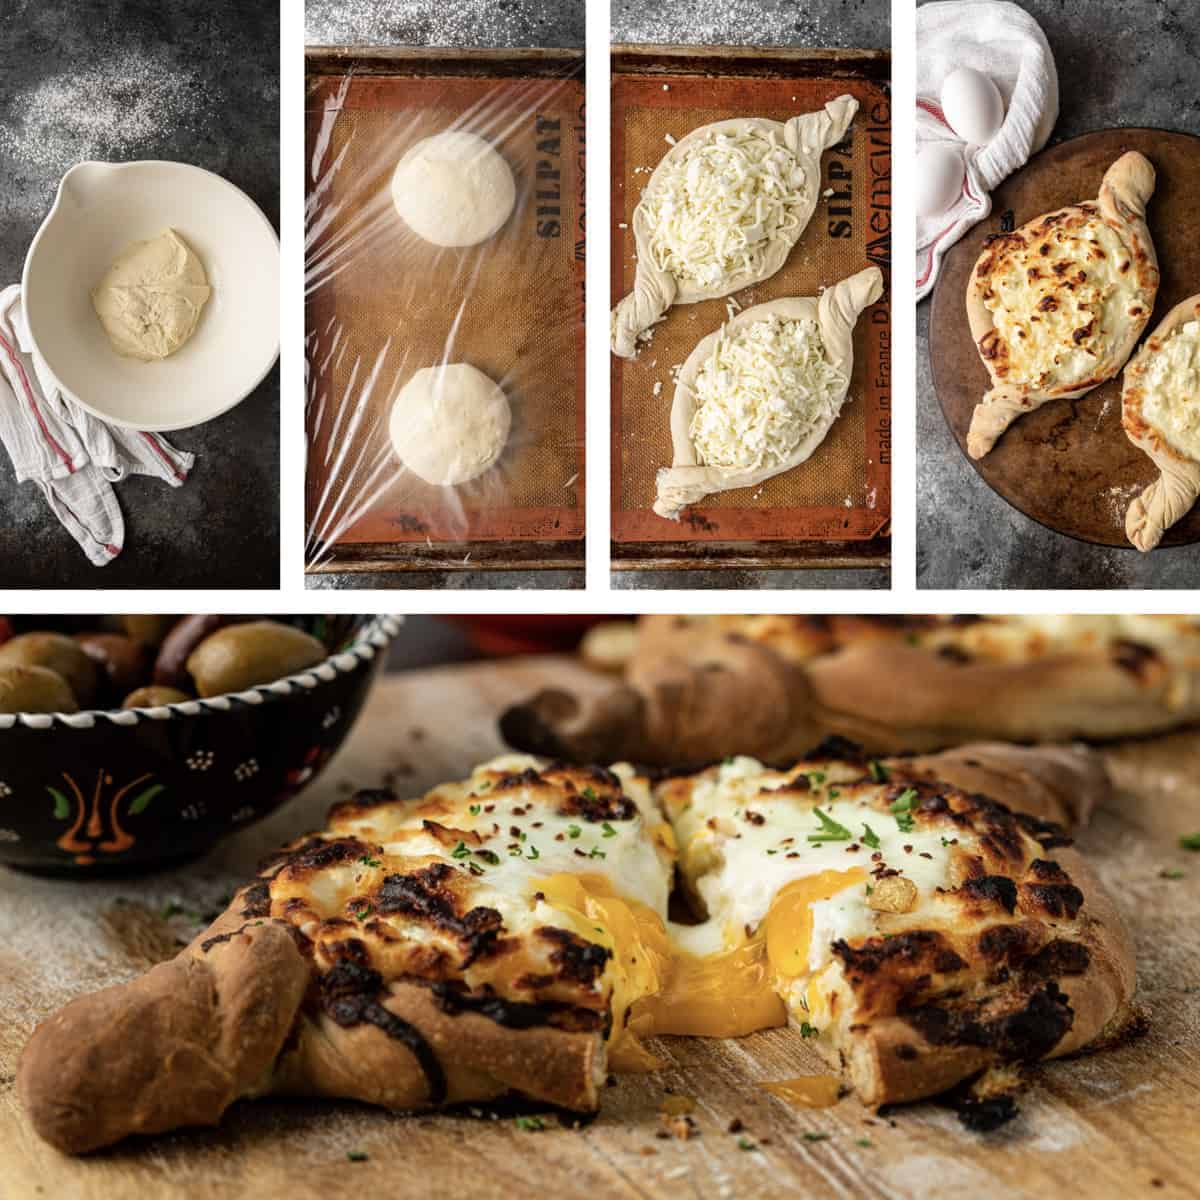
- Form the Dough. Add the flour, oil, salt, yeast, sugar, and water in the bowl of a stand mixer. Using a dough hook, mix on low speed for a couple of minutes before increasing the speed until the wet dough forms.
- Let Rise. Move the dough to a large bowl greased with olive oil. Cover with plastic wrap and set in a warm place for about an hour, or until the dough has doubled in size.
Note: I like to place the bowl in a microwave. Another neat trick is to turn on your dryer for just a couple of minutes, turn it off, and place the covered dough in the dryer with the door closed. - Divide and Let Rest. Place the risen dough on a floured surface. Work into two round pieces, cover with plastic wrap, and let sit for another 15 minutes.
- Preheat & Prep the Filling. Set your pizza stone in an oven while it preheats to 500°F. Meanwhile, combine the cheeses in a large bowl.
- Shape the Dough. Lightly flour your work space and roll one of the dough rounds into a 10” wide, ⅛“ thick circle. Sprinkle a quarter of the cheese mixture into the center, leaving a ½“ border uncovered.
- Form the Boat. Roll one edge of the circle a third of the way toward the center. Repeat on the other side, leaving a 3” space in the center. Pinch and twist the ends of the rolls together to create the boat shape. Spread another quarter of the cheese mixture to the center.
- Repeat & Rise. Repeat with the second dough round as above. Let rise for a final 15 minutes.
- Egg Wash & Bake. Brush the dough with an egg wash or with olive oil. Place the bread boats at least 3” apart on the pizza stone and bake for about 15 minutes.
- Add the Egg. Remove from the oven. Indent the cheesy center on each bread boat with a measuring cup or bottom of a small glass. Crack an egg into the center of each bread boat and return to the oven until the egg whites set.
- Serve! Remove the bread from the oven, sprinkle with parsley, and serve immediately.
This dish is Georgian in origin, but is very popular in many neighboring countries.
This includes Armenia, where it is an incredibly popular street and cafeteria food. It takes on a different, pocket-like shape that’s easy to eat on the go. It’s just as delicious!
Yes. Freeze the dough after its first round of rising. It will last for up to 6 months if properly stored in an airtight container. Allow to thaw in the refrigerator before proceeding with shaping and topping the dough and following the recipe as described above.
Not quite. It looks a bit like a pizza, with its thick crust and cheesy topping. But it’s really just a cheese bread with an indented center.
Share this recipe on Pinterest!
Love this recipe? Share it with the world on Pinterest.
Subscribe to my Newsletter, follow me on Facebook, Pinterest, Instagram and YouTube for all my latest recipes and videos.

Khachapuri Georgian Cheese Bread
Ingredients
For the dough
- 180 g all-purpose flour (1.5 cups)
- 1 tbsp olive oil
- 1 1/2 tsp salt
- 1 tsp instant dry yeast
- 1/4 tsp sugar
For the Filling
- 2 cups mozzarella cheese (See Note 1)
- 1 1/4 cups crumbled feta cheese (See Note 2)
Egg wash (optional)
Topping
- 2 large eggs
- parsley chopped
Instructions
For the dough
- Grease a large bowl with olive oil and set aside.
- In the bowl of a stand mixer fitted with a dough hook, combine flour, oil, salt, yeast, sugar and 2⁄3 cup tepid water. Mix on low speed until the dry ingredients come together, about 2-3 minutes. Next increase speed and mix until a smooth, wet dough comes together, about 3-4 minutes.
- Transfer the dough to the prepared bowl and cover with plastic wrap. Set in a warm place until the dough is doubled in size, 1 hour (See Note 3).
For the filling
- Combine the cheeses, mixing well, in a large bowl and set aside.
Assembly
- Place a pizza stone in the center of the oven and preheat to 500°F.
- Pour the dough onto a lightly floured work surface. Divide into two round pieces. Cover the pieces loosely with plastic wrap and set aside for 15 minutes.
- On a lightly floured pizza peel or overturned baking sheet, roll one dough piece into a 10 inch circle about 1⁄8" thick. Spread a quarter of the cheese mixture in center of the dough, leaving a 1⁄2" border all around. On one side of the circle, gently roll the dough about a third of the way toward the center. Repeat on the opposite side, leaving a 3" wide center space between the two rolls. Pinch the narrow ends of the rolls together and twist to seal. This creates the Khachapuri's boat shape. Top cheese center with another quarter of the cheese mixture, pressing down lightly.
- Repeat with remaining dough and cheese. Set the khachapuri aside, uncovered, for 15 minutes, until both are slightly puffed.
- Beat 1 egg with a teaspoon of water, then brush the dough with egg wash, or just brush with olive oil.
- Slide the breads onto the hot pizza stone, spacing them at least 3 inches apart. Bake until lightly golden brown and the cheese is melted, 14-16 minutes. Remove from oven and gently press to make an indent in center of cheese (See Note 4) and crack 1 egg into the center of each boat, keeping yolks intact. Return to the oven and continue cooking until the egg whites are just set, 3–4 minutes.
- Remove the breads, top with a sprinkle of parsley and serve hot. Break bread apart and dunk into the egg and melted cheese.
Video
Notes
- About 12 ounces shredded low moisture mozzarella cheese.
- About 8 ounces crumbled feta cheese.
- Rising Dough Tip: I often times put mine in the microwave, close the door and let it be OR another trick is to turn your EMPTY dryer on for 2-3 minutes to heat it up. When stopped and heated up, carefully place the covered bowl of dough in and close the door. DO NOT turn the dryer on again! It works like a charm.
- To make indentation for egg: I use metal 1/4 cup measuring cup or small end of a glass.
Nutrition
The information shown is an estimate provided by an online nutrition calculator. It should not be considered a substitute for a professional nutritionist’s advice.


This was surprisingly delightful, the bread was excellent but the cheese and the egg made it.
Lost dough hook
I know don’t ask
Can use dough cycle bread machine? Mix then rise cycle? Thanks
Beth, you can always go the old fashioned way and knead with your hands. It isn’t that difficult. I have no experience using a bread machine to give you a solid answer, apologies!
This is the cheesy bread of champions! Making it for Sunday brunch. 🙂
It’s Brunch heaven Bec!
I’ve been dying to try this bread for a while now and this is just the inspiration I need do to so! Your recipes are always spot-on and I need to make this one happen in my kitchen soon. It looks amazing – I especially love that cheesy middle with the runny egg, it’s perfection!
The cheesy, runny egg yolk is the best part Faith! Thanks so much for stopping by. 🙂
These were amazing. More more
These are outstanding right? Cheesy, gooey egg goodness. 🙂
Congratulations on the new site Kevin!I luv luv luv it! Will make Kachapuri this weekend.
Thanks so much Maria. Funny I usually enjoy this one on a Sunday morning myself! 😉
I’m so excited to follow this new blog. You are seriously the only Chef I love to follow! during this whole mess I’ve gotten my Chef on too. Thanks for your wonder recipes!
Thanks Vicki, much appreciated. Glad I can assist you in the kitchen. Let’s do this. Cheers!
What a great site. I can’t wait for my recipes from the other site also. Thanks so much!
Thank you so much. I hope enjoy enjoy the recipes Sheryl!
What an exotic, mouthwatering meal! You make it look so easy. Thank you for such detailed instructions – can’t wait to try this!
This is comfort food goodness Marissa! Thanks for stopping by!
Wow! I think this has to happen this weekend! I love the video! Makes it so easy to follow!
Thanks so much Kelsey. Delicious comfort food an anything with a gooey egg on top works for me!
Looks so good! Can’t wait to try it 🙂
Hi Kari! Thanks for stopping by the new site. So glad you found me and hope you enjoy the recipe!